I am reposting this; it was previously posted in December of 2019. Normally, at this time of year, I make these Christmas Buns and take them into the office for the various teams I work with to enjoy. I always get requests for the recipe. I’ve even found a note in the pan that said, “Please refill!”
This is a modification of the Hot Cross Buns from “Laurel’s Kitchen Bread Book”.
Makes 30 large buns or 60 small buns
Ingredients
Rolls
- 2 cups raisins (300 g)
- 1 cup dried apricots (130 g)
- 1 cup walnuts (120 g)
- 2 teaspoons active dry yeast (1/4 oz or 7g)
- 1/2 cup warm water (120 ml)
- 6 cups bread flour (900 g)
- 2 teaspoon salt (11 g)
- 2 large eggs
- 1/4 cup honey
- 1 cup of boiling water
- 1 cup cold buttermilk
- 1/4 cup butter (56g), room temperature
Glaze
- 3 tablespoon honey (45 ml)
- 1 tablespoon butter (14 g)
- 1/2 teaspoon cinnamon
- 1/4 teaspoon nutmeg (optional)
- 1/4 teaspoon cardamon (optional)
- 1/8 teaspoon clove (optional)
Instructions
Rolls
- Prepare the fruit
- Steam the raisins for about 3 minutes – put them in a pot with a lid and cover the bottom of the pot with about an inch of water. Cover with lid and bring the water to a boil for 3 minutes.
- Drain the raisins using a strainer, saving off the water to use as part of your 1 cup of hot water. (You don’t have to do this, but it adds extra flavor into the rolls.)
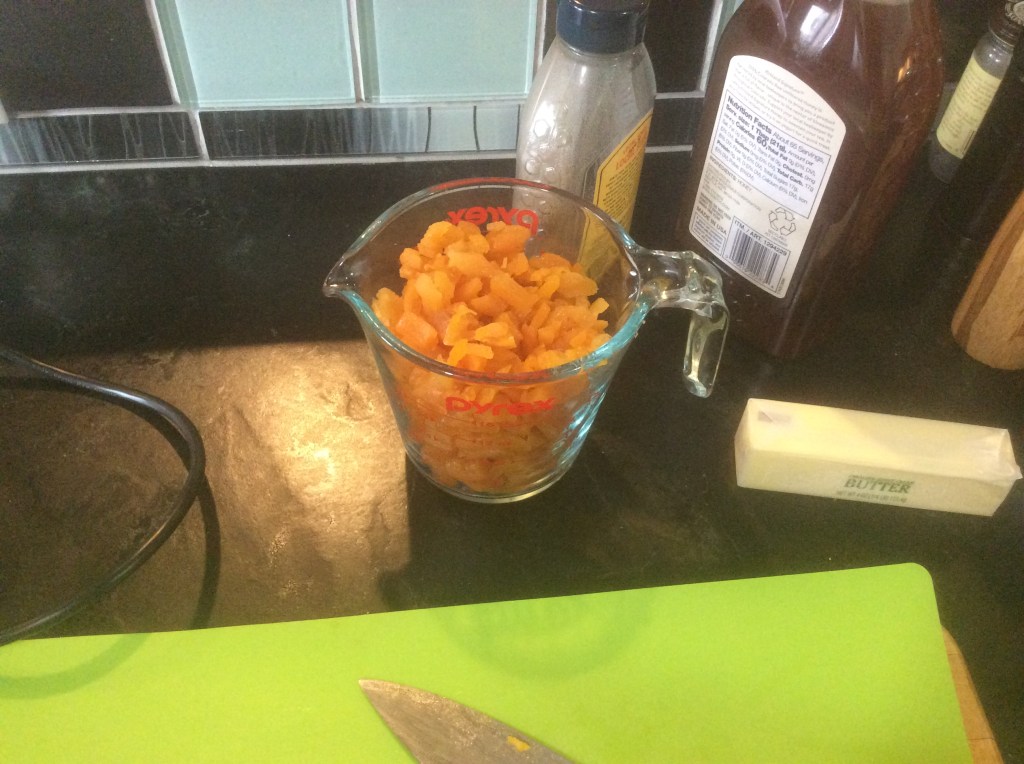
- If the apricots are not soft, you will need to steam them the same way you did the raisins.
- Chop the apricots to the size of the raisins.
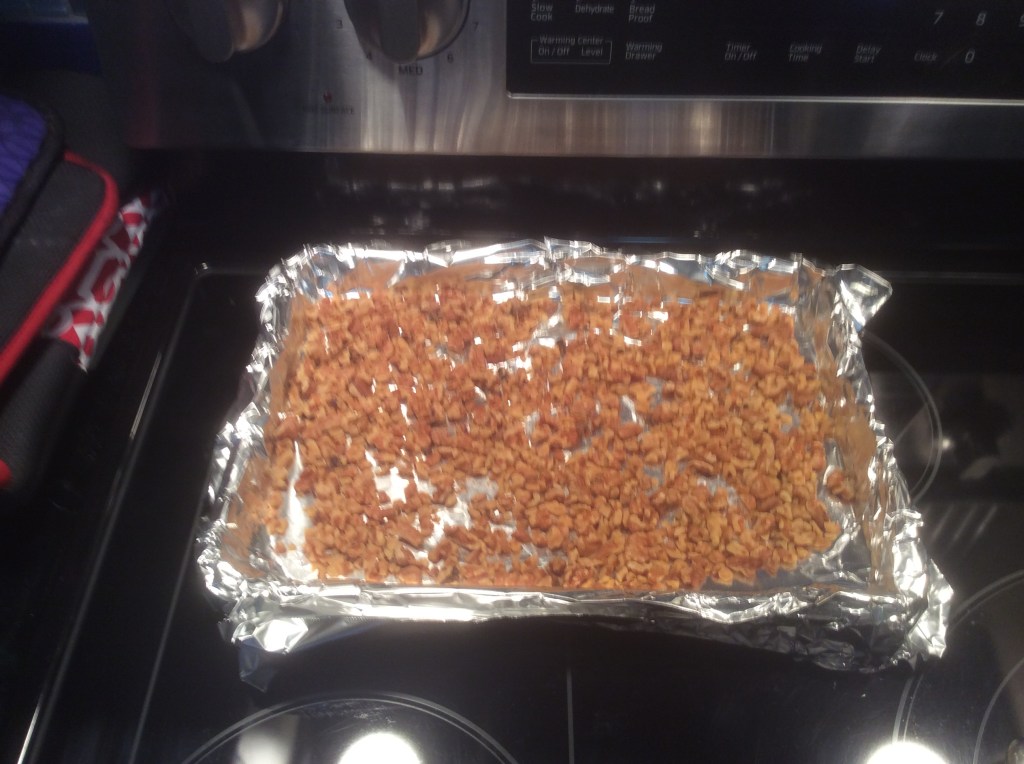
- Prepare the nuts
- Pre-heat the oven on to 350 degrees F,
- Spread the nuts flat on a baking sheet and put in pre-heated oven for about 5 minutes. Check to see they are lightly toasted, and if not let bake for another 2 minutes.
- Turn off oven and remove the nuts.
- (You can toast the nuts on a skillet, but I find that I tend to burn them.)
- When nuts have cooled down, chop them about them into raisin sized pieces.
- Dissolve the yeast in warm water (90 degrees to 110 degrees F) and set aside.
- Mix the flour and salt in a large bowl, making a well in the center . (If you have a stand mixer with a bread hook, toss the flour and salt together in the mixer bowl)
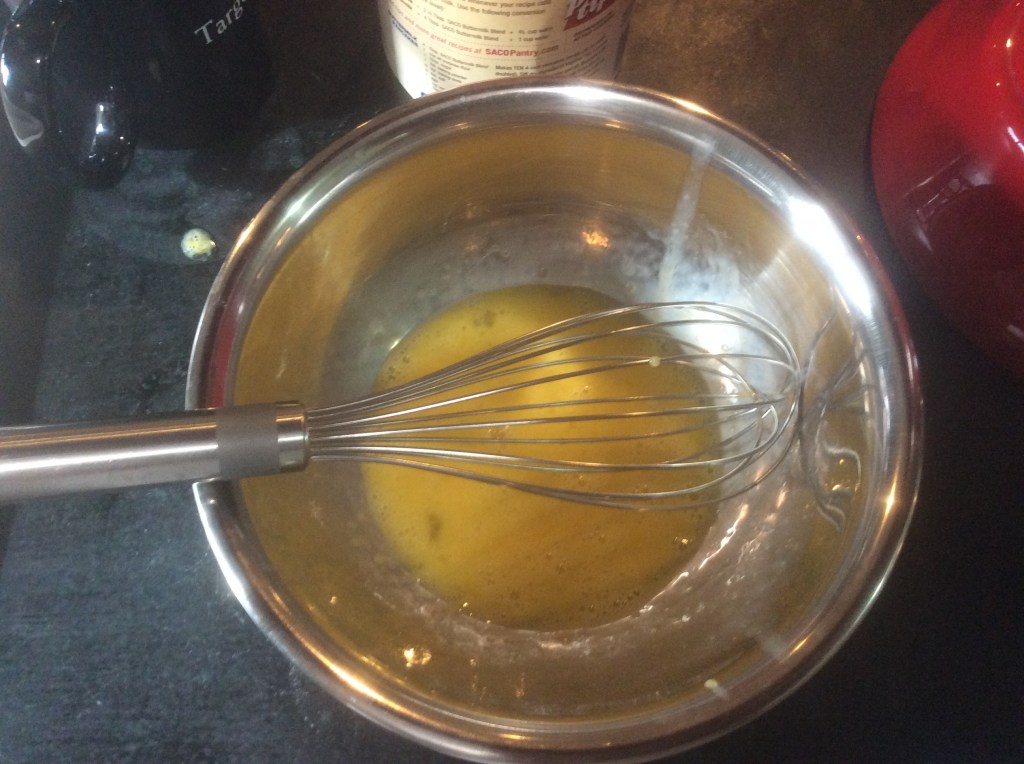
- Break the eggs into a small bowl and beat them slightly. Set aside 3 tablespoon of the egg to use for the egg wash later. (I put this in a bowl, cover it, and put it into the fridge for use when the I need the egg wash.) If you forget this step, you can just use another egg for the egg wash.
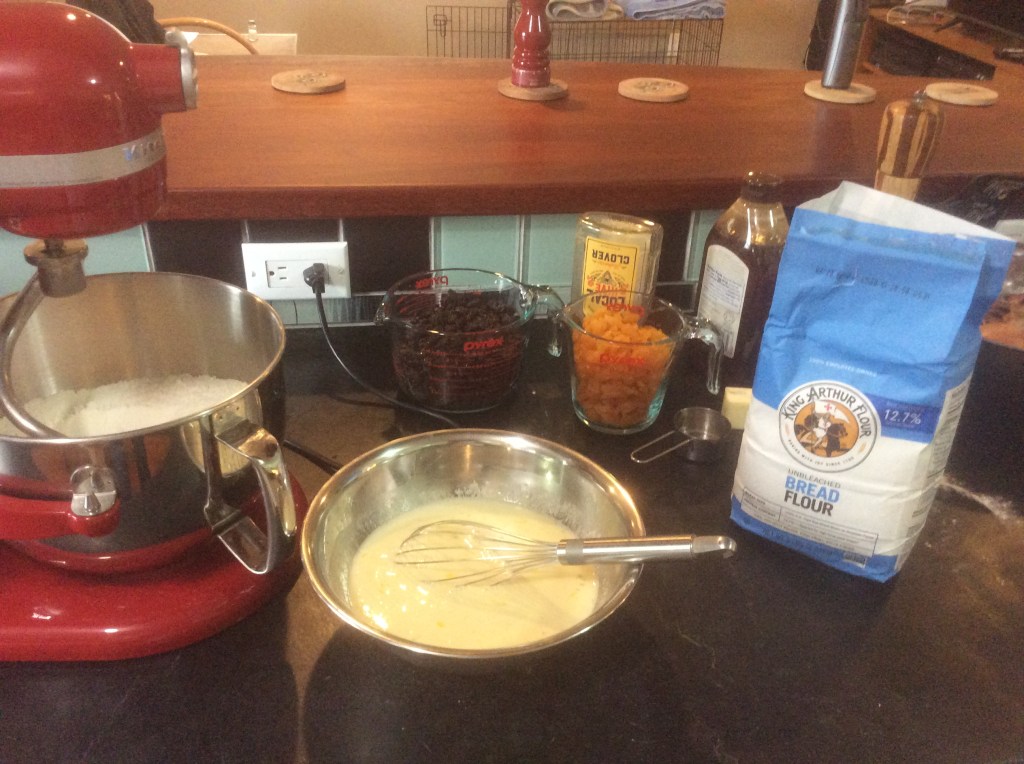
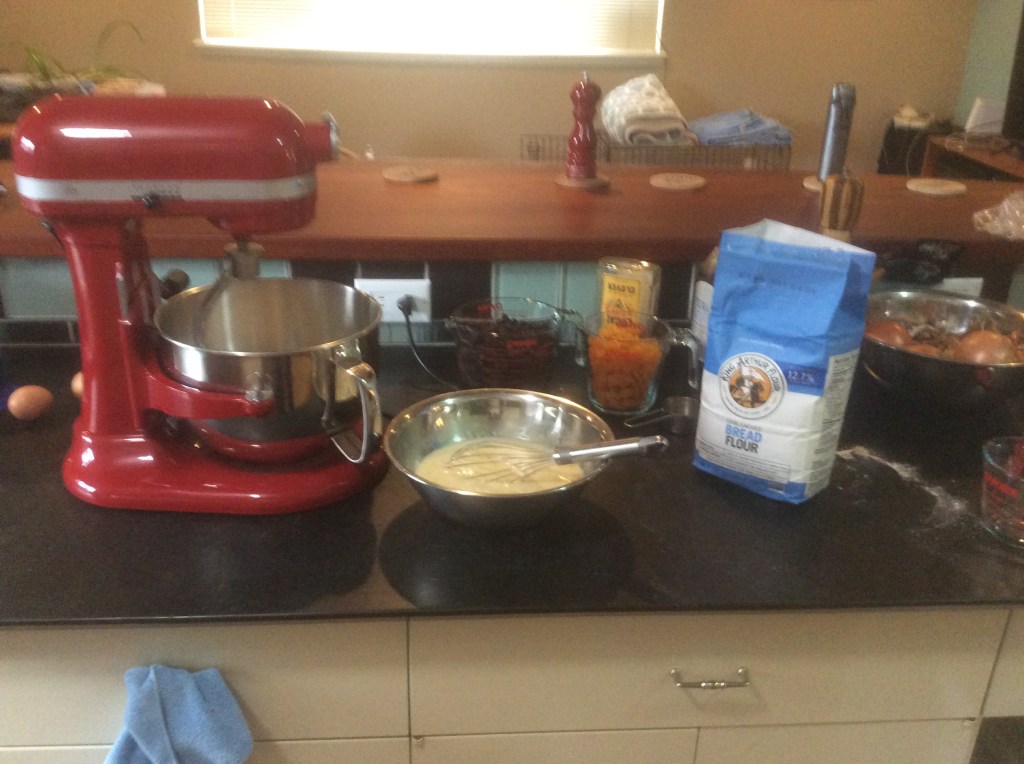
- In another bowl, mix the very hot water, which can include the water left over from steaming the fruit, and the honey. Stir to dissolve the honey.
- Add the cold buttermilk and to water and honey, stir in the beaten eggs.
- Pour the liquids and yeast into the well in the flour and mix, then knead. (If you have a stand mixer, use your bread hook to let it knead the dough for about 8 to 10 minutes. You may need to add a little more flour) If kneading by hand, keep your hands wet as you work the stiff sticky dough, letting the dough take in as much water as it requires to become soft and supple. This is a sticky dough.
- When the dough is silky and elastic, add the butter by smearing on your kneading surface and kneading the dough until all the butter has been incorporated.(If using a stand mixer, cut butter into thin slices and toss into the bowl while the mixer is running.)
- Once the butter is incorporated, knead in the fruits and nuts by adding them a handful at a time. Make sure each handful is mixed into the dough before adding the next handful. (You can use a stand mixer to knead in the fruits and nuts. Once it looks like all the fruit and nuts have been incorporated, remove the bowl from the mixer. Once you remove the bowl from the mixer, hand knead the dough just enough to make sure the fruit and nuts are evenly distributed in the dough.)
- Form the dough into a ball and place it smooth side up in a lightly oiled bowl.
- Cover and keep warm in a draft-free place.
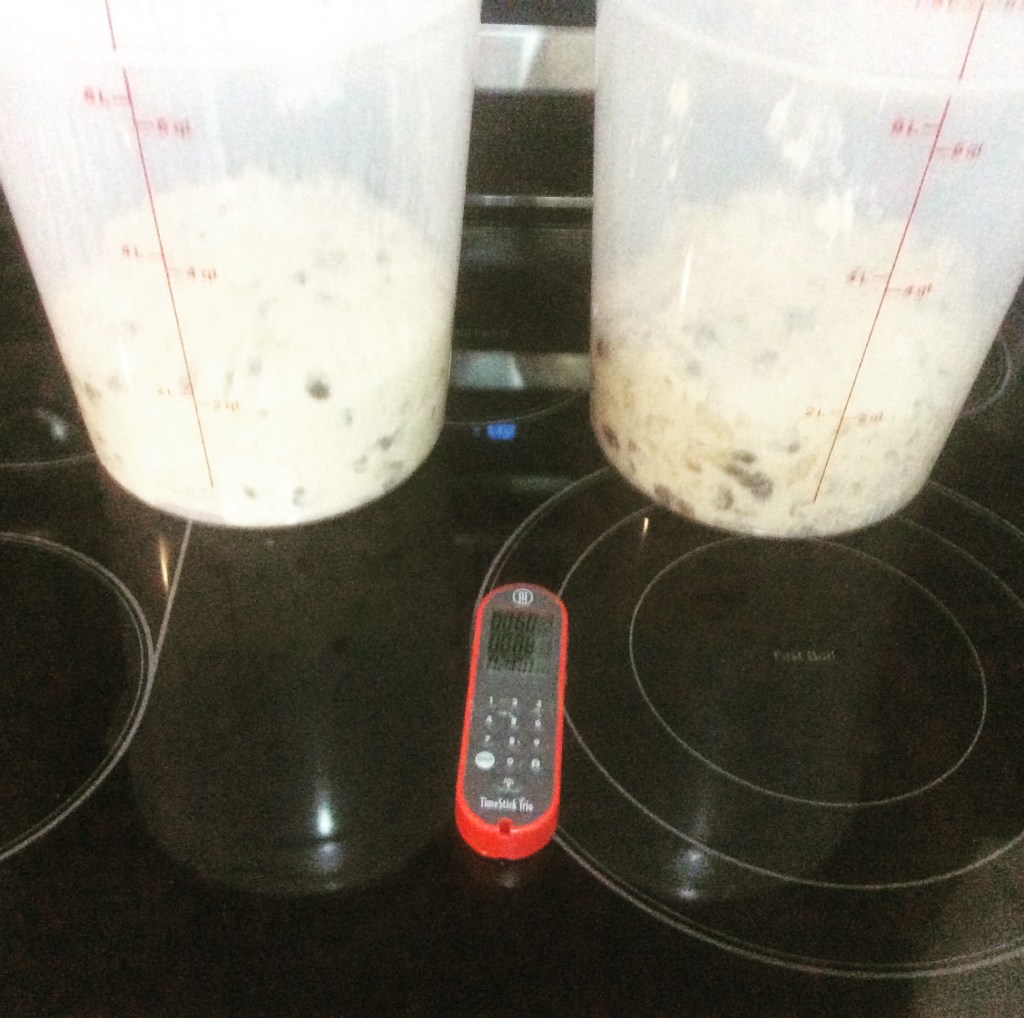
- After 1 hour and 30 minutes, check to see if the dough has risen enough. It should double in size. Gently poke the center of the dough with your wet finger, and if the hole doesn’t fill in at all, the dough is ready to deflate.
- Press out the accumulated gas, and round the dough up again.
- Let rise again for 45 minutes, The dough should double again.
- Lightly flour your bench, and divide your dough into half for large buns or quarters for small buns on the lightly floured surface and let rest for about 5 minutes.
- Grease or line with parchment paper (I find parchment paper better.) two 12”X 18” cookie sheets
- Lightly flour your bench.
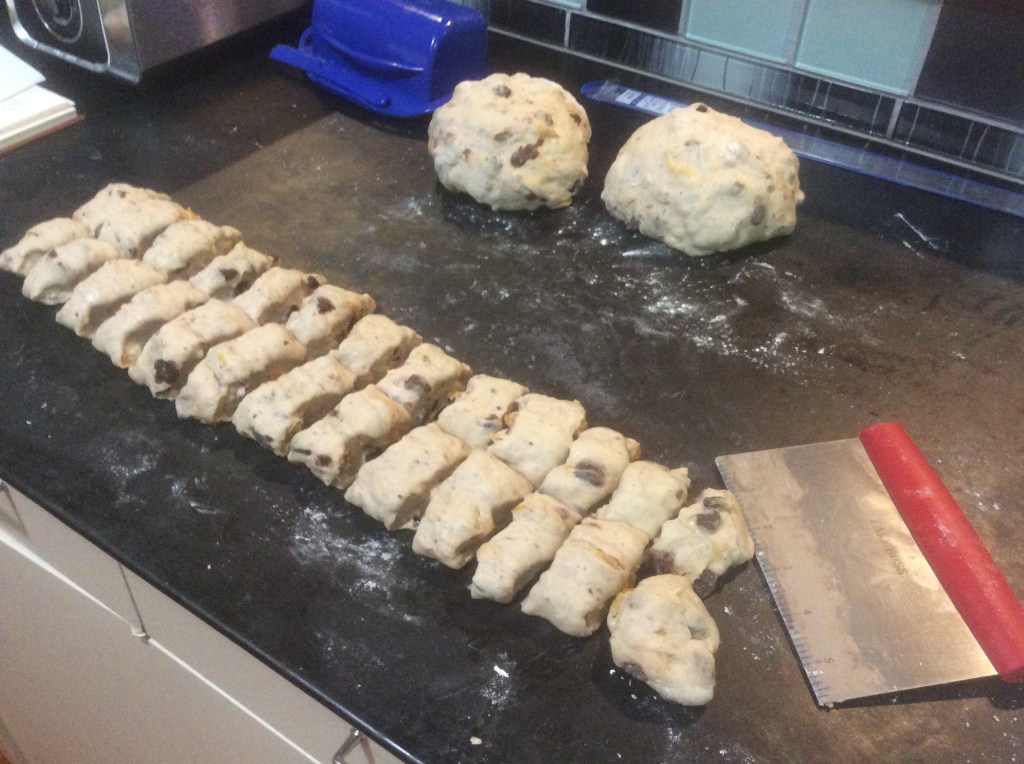
- For small buns, roll out each quarter into a long log, about an inch and 1/2 thick, cover two of the logs to keep them from drying out. Take the uncovered logs and cut them into 15 equal pieces. I do two logs at a time with my bench scrapper.
- For large buns, roll out each half into a log and cut into 15 equal parts.
- Roll the cut pieces into smooth balls. Place small buns about 1/2 inch apart and large buns about 1 inch apart. The small buns will fit 5 to the short side of the pan and 6 to the long side of the pan. For the large buns, put 3 to the short side and 5 to the long side of the pan.
- Press down to flatten some.
- Cover and let rise in a warm draft free place for 20 minutes. The buns when lightly pressed with a finger should not spring back.
- Pre-heat your oven to 375 degrees F
- Make the egg wash by mixing the reserved egg plus 1 1/2 tablespoons of water. Beat egg and water together until smooth, but you don’t want it to be frothy.
- Brush the buns with egg wash, let sit for about 2 minutes then bake. Check after 10 minutes, and you may need to move the baking sheet around in the oven. Switch the bottom baking sheet, with the top one and turn both around. These will be a beautiful dark golden brown when done, as will the bottom of the bun.
- Check again in 5 minutes for the small buns or 10 minutes for the large buns.
- While the buns are baking make the glaze, see below.
- Once the buns are baked, take them out of the oven and immediately brush them with the glaze. (This is why parchment paper is so nice, you don’t have such a sticky mess on your pans. ) Make sure to cover the entire surface of each bun.
Glaze
- Microwave instructions
- Using a medium size microwave safe bowl, add the 3 tablespoons of honey, 1 tablespoon of butter, and the spices.
- Put bowl in the microwave and heat until the butter melts. This takes about a minute to a minute and a half. The mixture will foam a bit.
- Carefully remove from microwave, as it will be hot!
- Stir the mixture after removing from the microwave.
- Stove top instructions
- In a small pot, add the honey, butter, and spices and bring to a boil, remove from heat.
Notes:
These reheat well. They also freeze well. To freeze, wait until they have completely cooled and put them in a container so they are flat. (I use 1 gallon freezer bags.) To thaw, I put them on the counter and let thaw out and then I heat them up in the oven (350 degrees F for about 10 to 15 minutes)


Love it when you have a recipe that is so popular! What a fun dish to share! I bet it makes your house smell like the holidays.
LikeLiked by 1 person
It does make the house smell amazing.
LikeLiked by 1 person
Wow! They are making drool.😋
LikeLiked by 1 person
Thank you! 😊
LikeLike