April 8, 2021
Since the weather forecast for the next ten days was predicting above freezing overnight, we decided to de-winterize the RV on Saturday, April 3. We wanted to flush the RV antifreeze from the plumbing system.
I was very excited by the idea of having running water in the RV. We hadn’t had a chance to try out any of the faucets. I wanted to see how well the kitchen faucet worked. Both of us wanted to see how well the shower worked.
To prepare for de-winterizing the RV, we watched a couple of YouTube videos on Saturday morning. One was by Forest River, which was surprisingly short but made it seem that de-winterizing was an easy task. We watched another video, which was more comprehensive, but still made the de-winterizing seem easy.
We drove the freshly washed Cliff the Big Red Truck to the RV park; we unpacked and took Nox for a walk. She loves going for walks and being up high. Walking along the ridge is dog heaven for Nox!
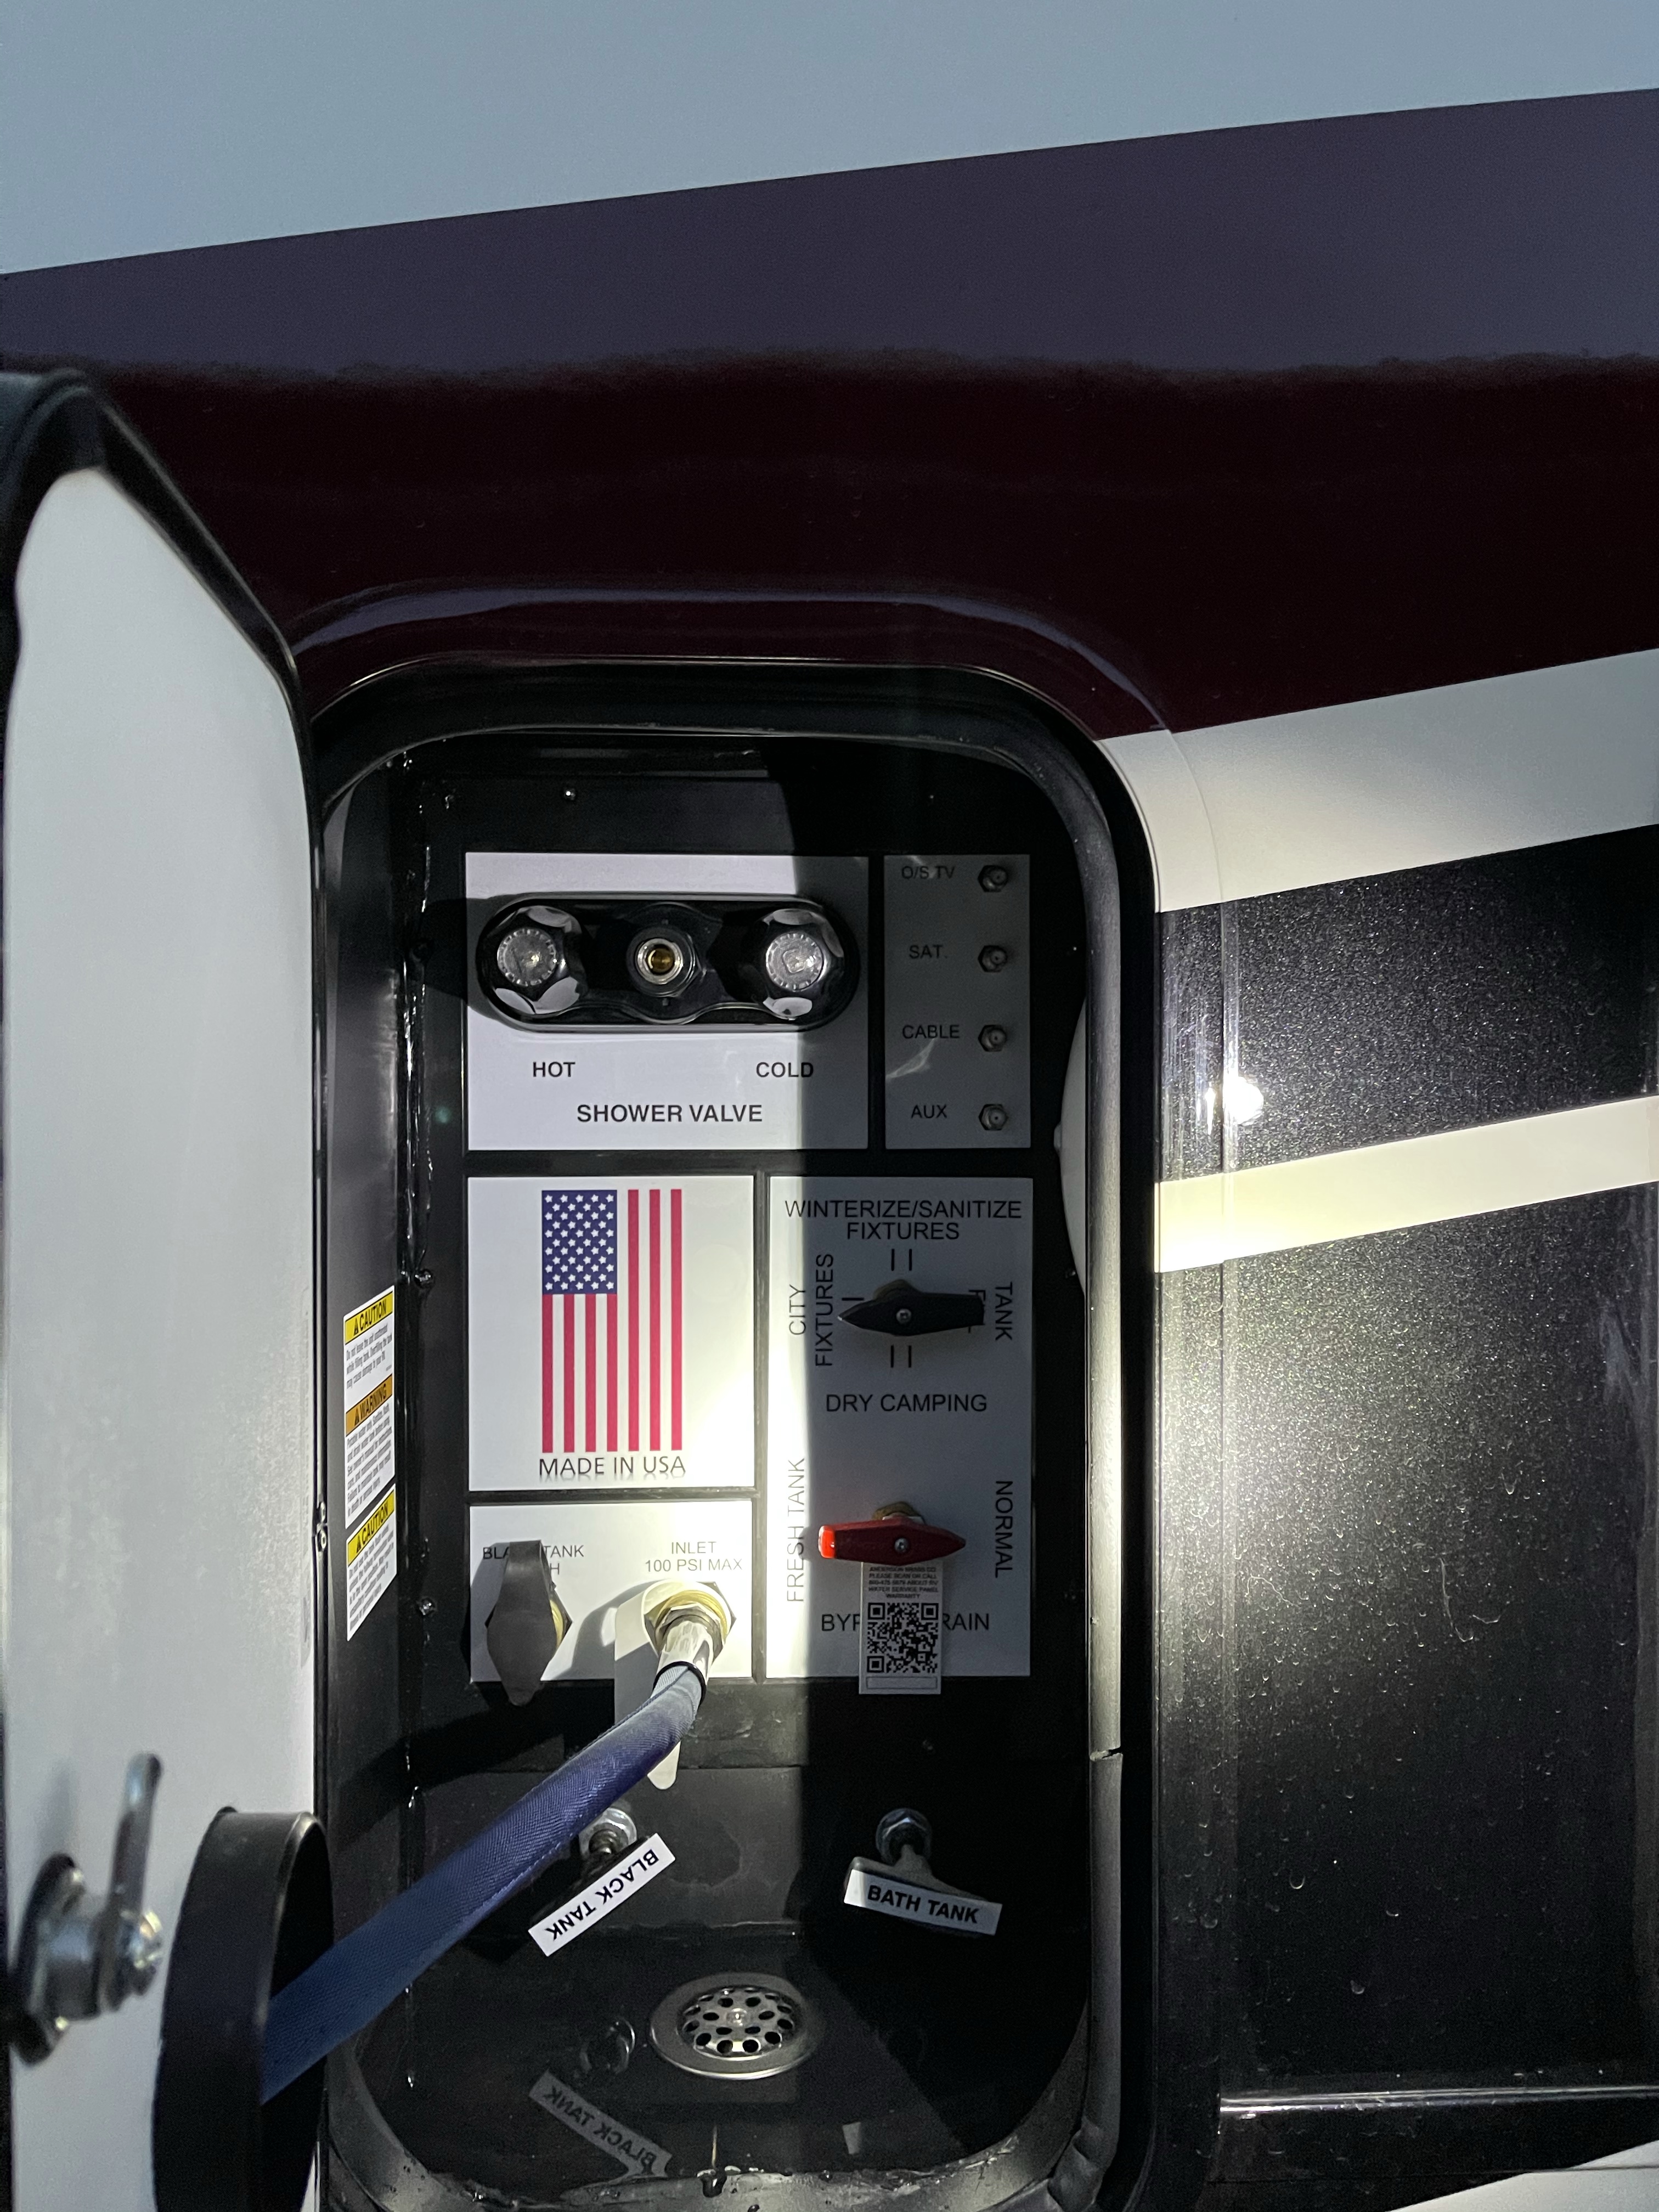
After we got back from taking Nox for a walk, Bruce and I rested for a bit. After resting, we were ready to tackle the de-winterization. The RV has a wet bay on the driver’s side for water hookup. This wet bay is well labeled, allowing us to figure out how to set the switches.
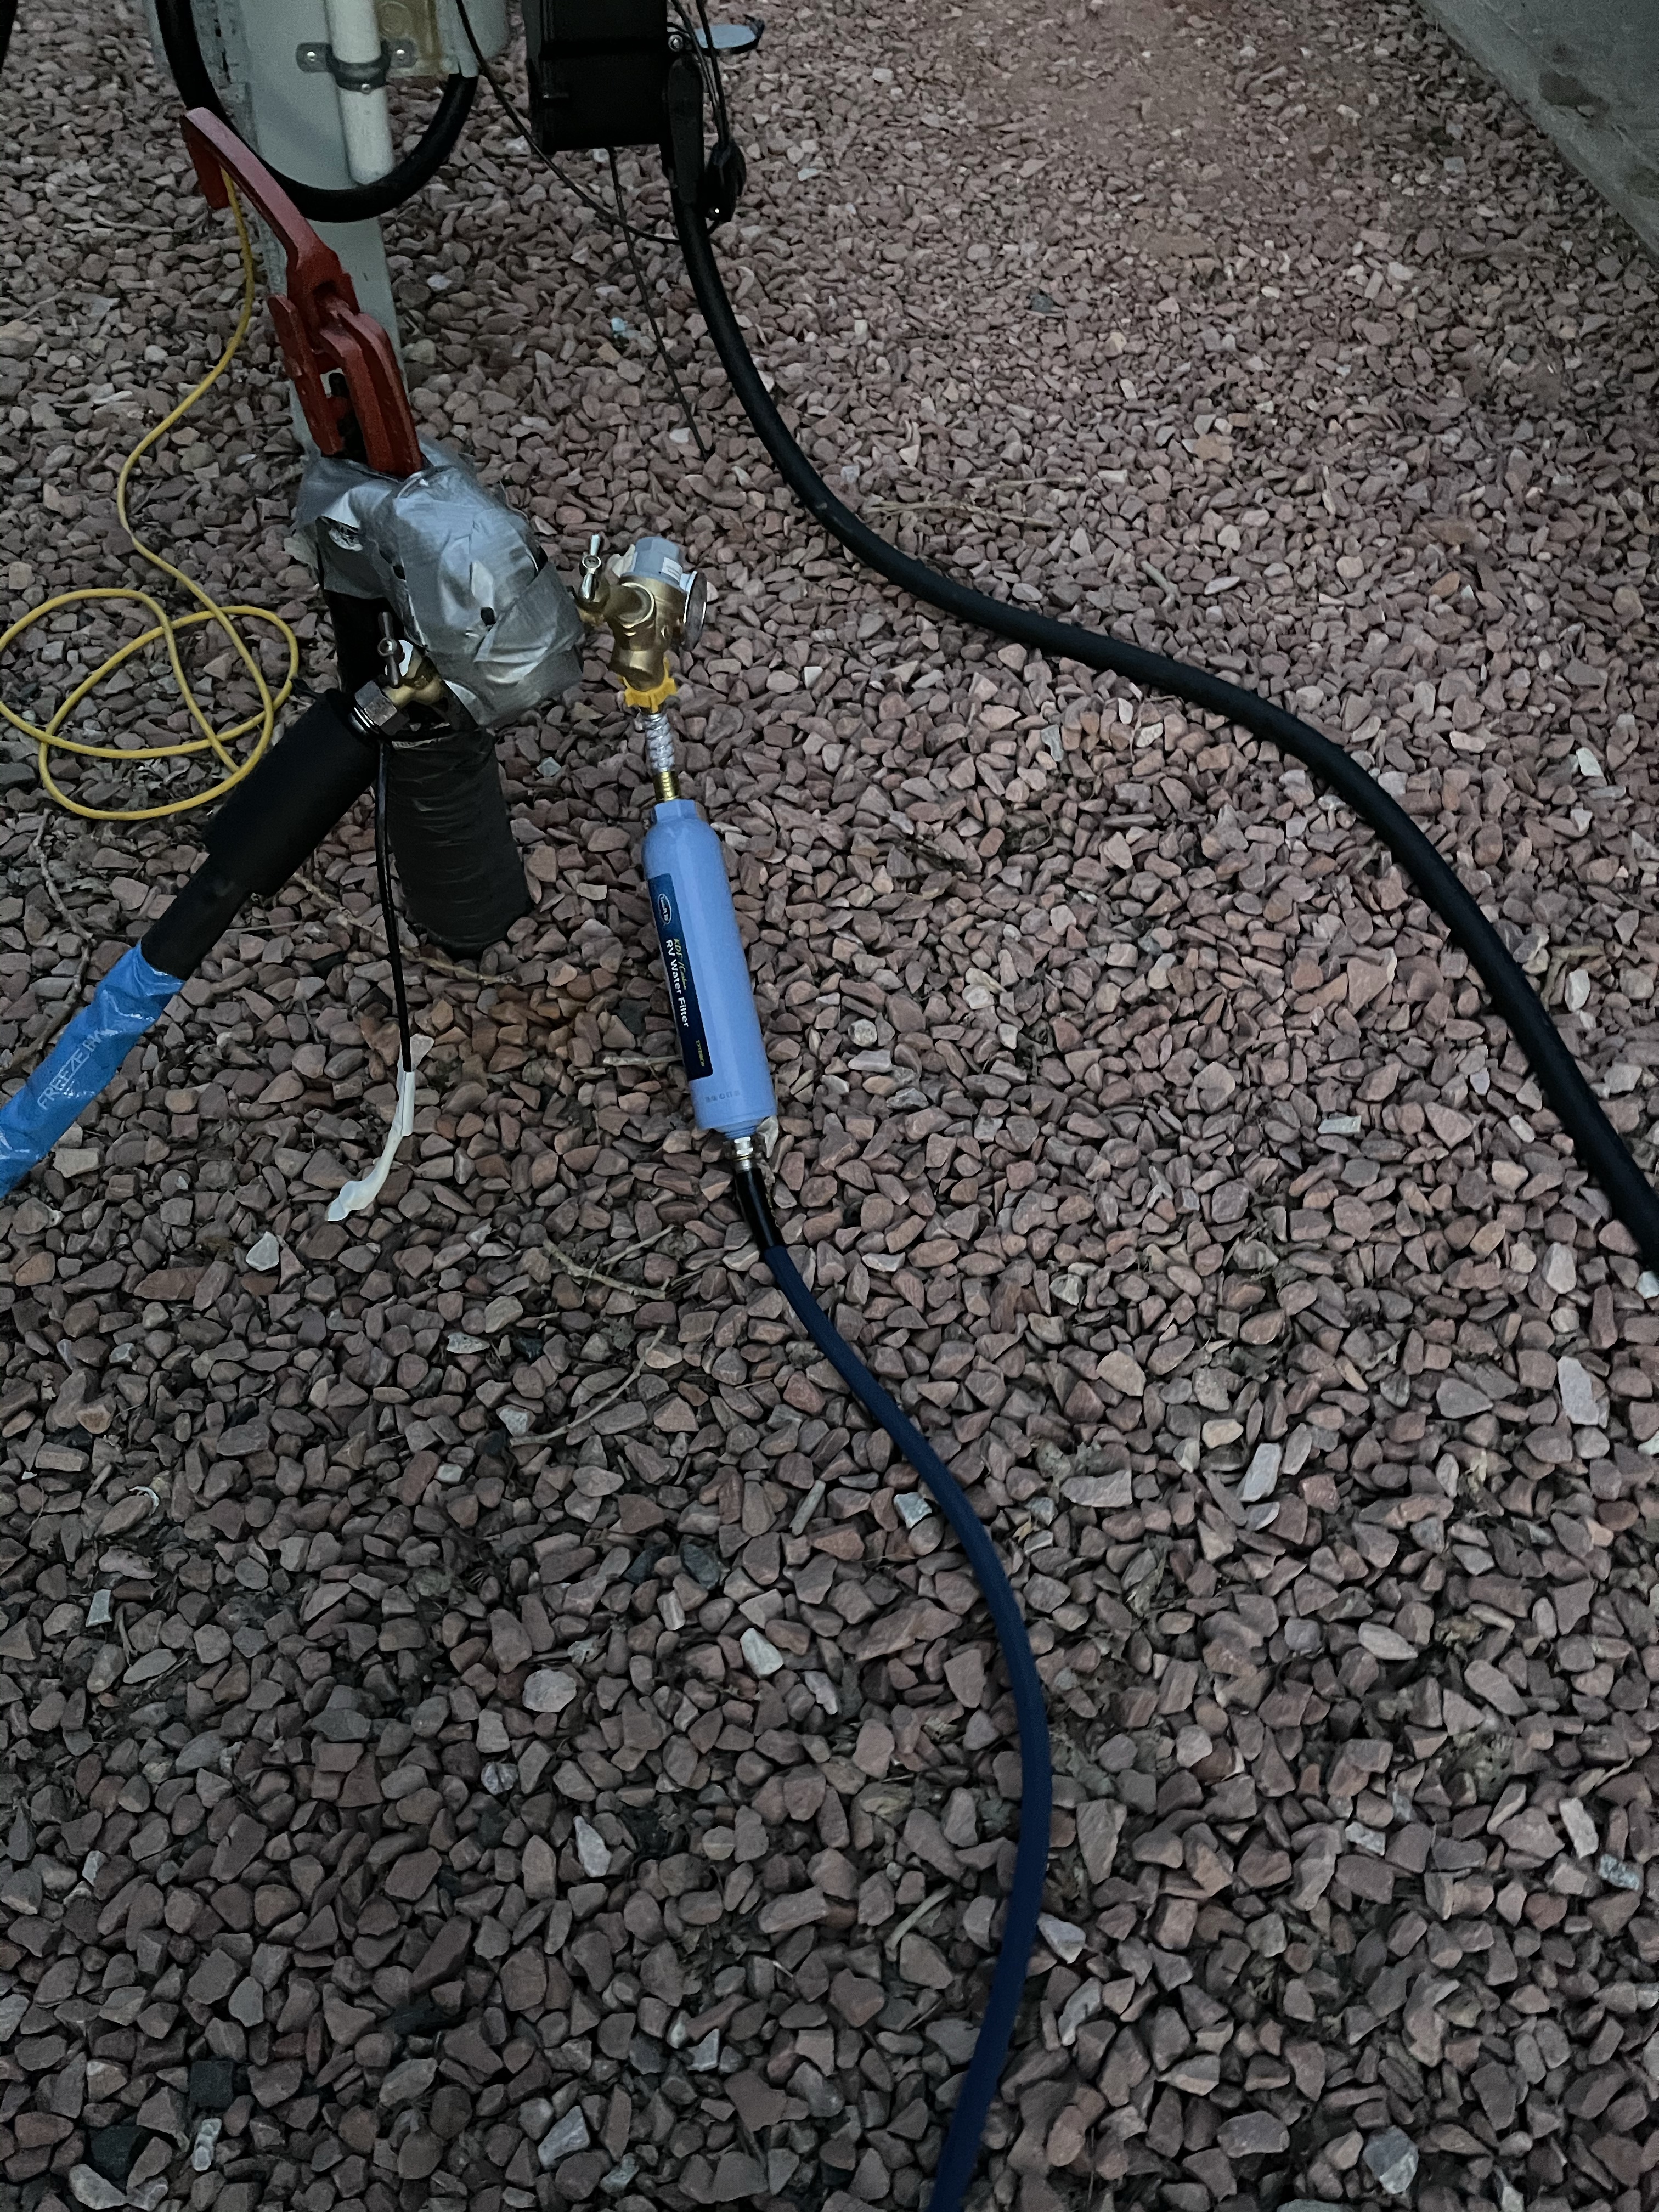
To de-winterize, Bruce attached the water filter to the small water hose that came with the filter. Bruce attached the small water hose to the RV park’s water spigot and ran the water through the filter until it ran clear.
Bruce unwrapped our new Zero-G water hose for RVs and stretched it out. He attached one end of the hose to the water filter and the other end of the hose to the RV’s wet bay water hose connection. He moved the switches in the wet bay from Winterize to City Water and turned on the RV park’s water spigot.
The plumbing system was now pressurized! We took a flashlight and checked for leaks in the full unit water manifold system. Bruce pulled the switch for the low point and checked that water came out. Our next step was to turn on the faucet in the kitchen and watch the pink antifreeze run into the sink. We checked under the sink to make sure there were no leaks.
We did the same to the bathroom sink. We ran the shower until it ran clear and flushed the toilet until it ran clear. We checked under the RV to see if there were any leaks.
After flushing the RV antifreeze from the system, we then turned on our Truma Aqua Go Comfort On-Demand Hot Water Heater. It was great to have running cold and hot water!


Nice 👌👌🔥🔥
LikeLiked by 1 person