December 2, 2024
Yesterday, we started installing the new dishwasher that was delivered while Bruce was at his dad’s.
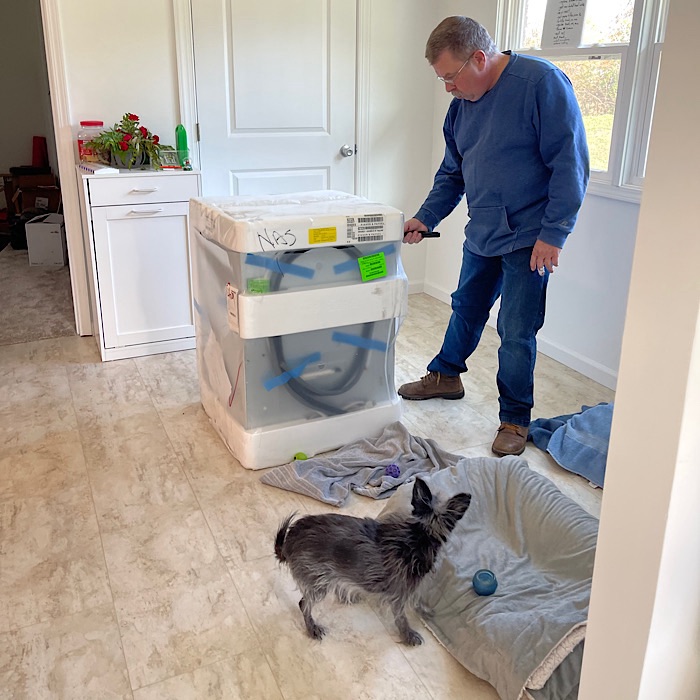
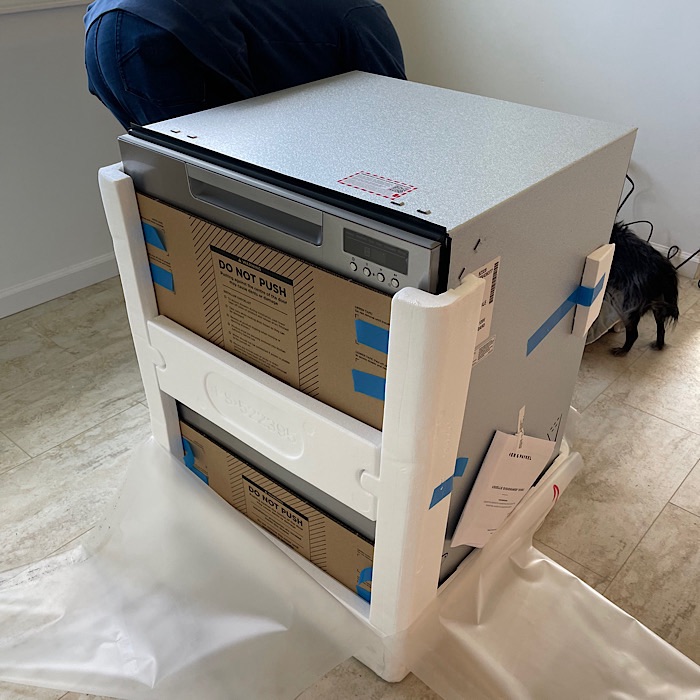
Here is Bruce unboxing the dishwasher while Nox watches.

Next came figuring out which breaker belonged to the wiring the dishwasher uses. This took some time as Bruce used the opportunity to determine what most of the breakers controlled. We ran around the house for over 30 minutes trying to determine what turned off when he flipped a breaker.
Since the previous dishwasher had been hardwired, Bruce installed an outlet for the dishwasher plug while the breaker was off. Once the outlet was installed, Bruce flipped the breaker to on. He plugged in the dishwasher and was happy to see it light up. So was I!
Since the installation manual didn’t cover many points, we watched a YouTube video on how to install the dishwasher. It is a different installation from the standard type of dishwasher. We couldn’t use the existing holes in the cabinet underneath the sink. The manual made it clear what type of holes were needed.
Bruce used a circle drill bit to drill out a 2 1/2 inch hole at the back of the cabinet floor, next to the back cabinet wall and the wall next to the dishwasher. He then drilled 2 1/2 inch hole from the dishwasher side of the cabinet a 1/4 from the floor, at the back of the cabinet. He ran into the cabinet structure part way in his drilling. His language became rather colorful.
He finished drilling the holes. Next was getting the hoses through the two holes. I was underneath the sink to grab the hoses while Bruce feed them through. I was able to catch the water hose and the first drain hose. The second drain hose turned into a bear. After a lot of trying, I suggested we use painters tape to tape the two hoses together. That worked beautifully.
Bruce and I leveled the dishwasher. Bruce tipped it over and I held it up while Bruce adjusted the dishwasher feet. Then we switched sides. Once the feet were extended, Bruce used his level to make sure the dishwasher was level front to back and side to side. This did require some minor adjustments to the dishwasher feet.
This was enough for both of us for one day. We left the dishwasher ready for the next step and went to bed.

Today, we finish the installation. We (mainly Bruce) attached the dishwasher to the cabinet. This dishwasher is very tippy due to the drawers making it top heavy. The dishwasher has to be attached.
Getting the dishwasher attached was not fun. Trying to screw in screws with so little space was hard, but Bruce managed. Afterwards, he wanted a break.
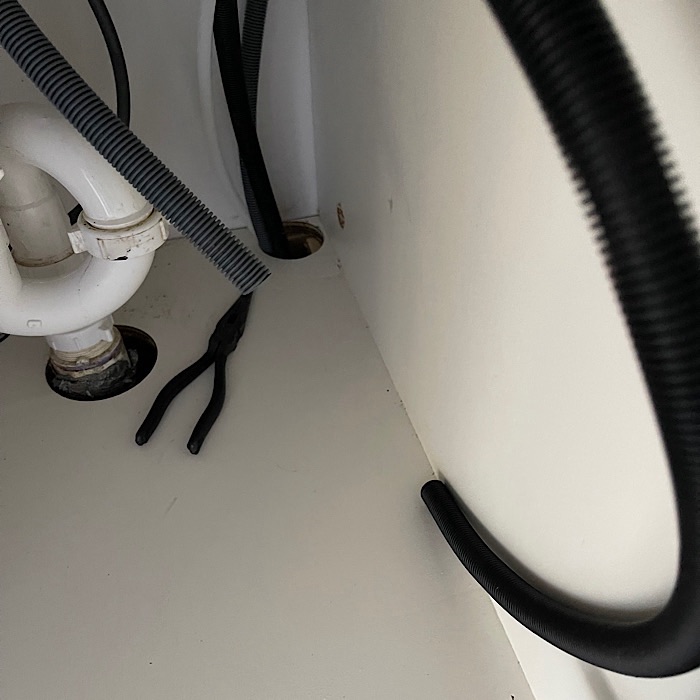
I replaced the straight drainpipe with a drainpipe with a discharge port. Bruce came and admired my work. I had a suggestion as to where we should install the drain hoses holder for the two drain hoses from the dishwasher.
Bruce took my suggestion. He installed the drain hoses holder next to the sink on the left side. He was able to use his drill for a pilot hole and then the screwdriver to install the drain hoses holder.
He found it was harder to get the hoses into the drain hoses holder than the video showed. The language was colorful.
He connected a Y fitting, provided as part of the dishwasher install kit, to the discharge port and tightened the provided clamp. The discharge hoses had a clamp placed on each one, then each one was connected to the Y fitting and clamped.
Bruce was able to reuse the water fitting from the previous dishwasher and just attach the water hose.
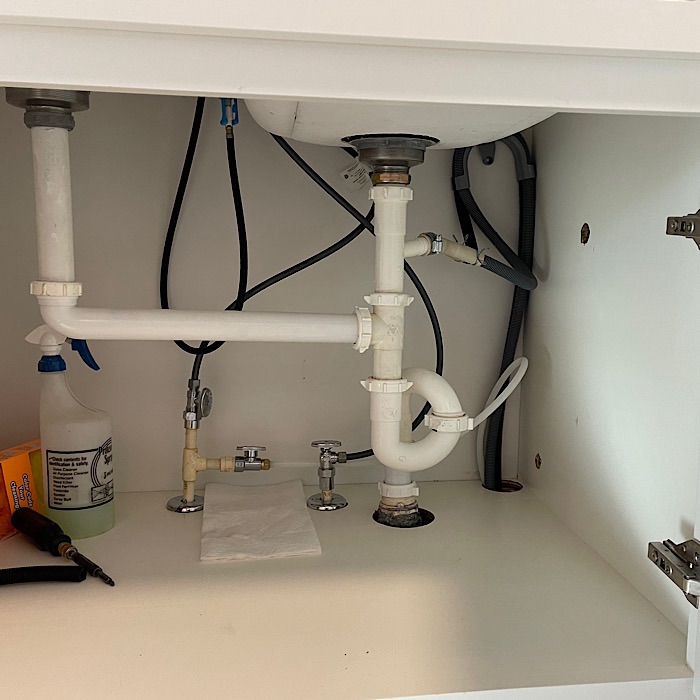
The dishwasher has two drawers and each drawer has its own drainage system, which is why there are two drainage hoses. This is important if someone has serious food allergies, the drainage water can’t get into the drawer reserved for them.
To make sure the drainage system worked without any leaks, we followed the installation directions. We put three cups of water in the bottom drawer and ran the rinse cycle. There were no problems with the bottom drawer. We did the same for the top drawer. There were no problems with the top drawer.
While the rinse cycle was running on the top drawer, Bruce installed the kick plate to the bottom drawer.
Once the rinse cycle finished and everything looked good, I loaded dirty dishes into the bottom drawer. I added JetDry to the Rinse Aide compartment and Cascade to the compartments.
I ran the hot water in the sink until it was hot; I turned on the bottom dish drawer to wash the dishes.
I was pleased how quiet it was, just like the dishwasher at the RV. The dishwasher in the RV is a Fisher & Paykel single drawer dishwasher. I am glad I spent the money on the two drawer Fisher & Paykel dishwasher.
The top drawer is very easy to load. I don’t have to bend over very much at all to load it. The bottom drawer is similar in height to the bottom rack of a drop down door dishwasher.
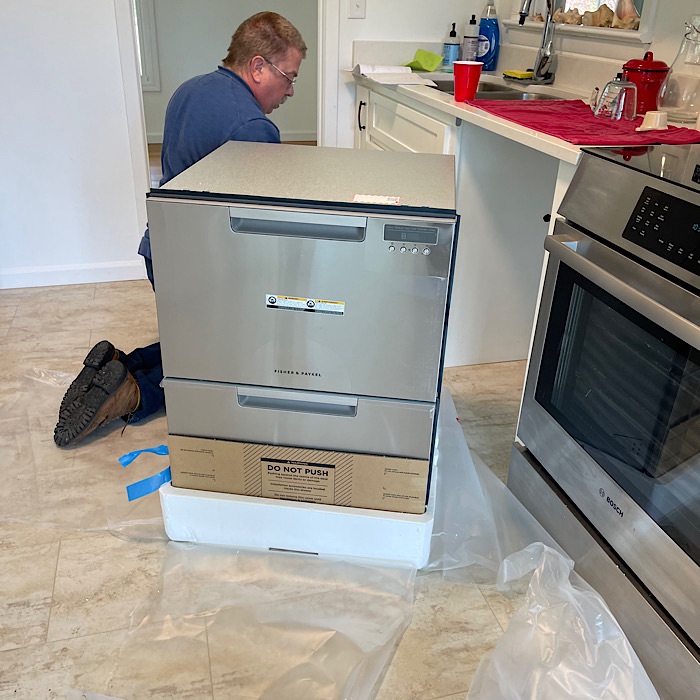
Here is the dishwasher completely installed!
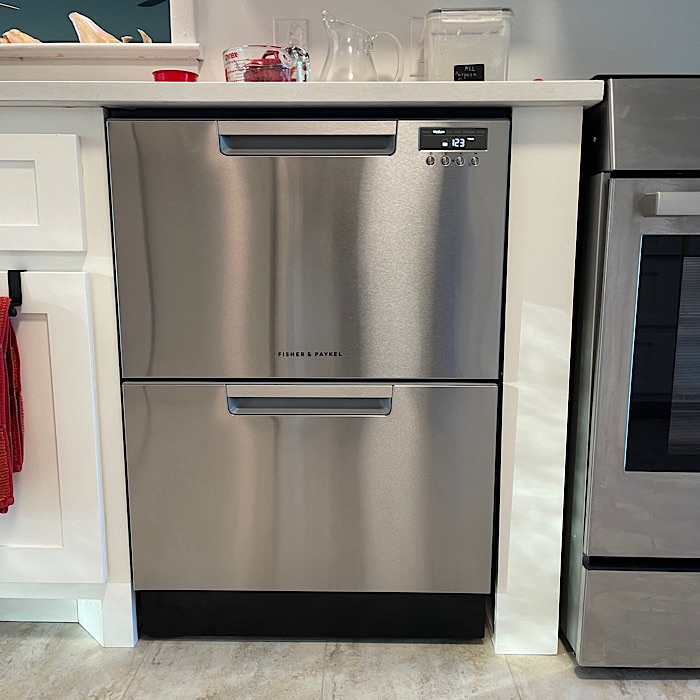
I’ll try to remember to get some pictures of the drawers open.
I can use the space under the sink for storage! I moved several items to underneath the sink, freeing up one shelf in my upper cabinets.
This is one big item checked off our list of items to do.

I admire y’all for being able to install a dishwasher. What an undertaking!
LikeLiked by 1 person
It was!
LikeLike
I had to laugh at “colorful language” because Randy hates plumbing more than any other DIY task! The dishwasher looks great and very neat under the sink. When we got our new cabinets in the remodel, I got some of those double decker racks with a drawer that slides out and it has really kept me able to keep under the sink neat and be able to find everything.
LikeLiked by 1 person
I thought it would be amusing to include that. Bruce is with Randy on plumbing.
I had wondered how those double decker racks worked and have been considering them. It’s good to know they work well. Do you remember what brand you purchased?
LikeLike
I don’t recall, but you can find them almost anywhere. They were simple to put together, and mine had a stationary top shelf and the bottom slid out and came in a two-pack. I am sure they probably came from Amazon since Randy ordered them.
LikeLiked by 1 person
Thanks. I’ll look into them. Are yours wire?
LikeLike
Metal posts with plastic bins. One is solid and one has small air holes.
LikeLiked by 1 person
Thanks!
LikeLike
What a cute supervisor you all had!
Do you and Bruce have food allergies? Is that why you got this model of dishwasher?
LikeLike
She is a very cute supervisor!
We do have food issues, but that wasn’t the reason we got this dishwasher. We don’t have life threatening allergies.
The RV came with a Fisher & Paykal drawer dishwasher. In general, Bruce despises dishwashers because they “don’t work.” He was throughly impressed with the Fisher & Paykel drawer dishwasher in the RV. “It actually cleans the dishes.”
Since we had the cabinet space, we got the two drawer dishwasher. If I had been designing the cabinets, we would’ve got the single large drawer dishwasher and put a drawer below it. The drawer dishwashers are considered very easy to use for people with mobility problems. The drawer by the counter means almost no leaning over to load the dishwasher.
LikeLiked by 1 person
Hmm, are they priced similarly to other dishwashers? I might recommend these to a neighbor with back problems.
LikeLiked by 1 person
They tend to be more expensive.
LikeLiked by 1 person
Might still be worth it, though…
LikeLiked by 1 person
I really like the drawer dishwasher.
LikeLiked by 1 person
I probably would never use the lower drawer – the top shelf on mine always fills up first, so I don’t have to bend over! And I’m glad Nox was able to supervise without getting underfoot – a dishwasher is not light.
LikeLiked by 1 person
Nox was very good and stayed in her bed area. She didn’t get underfoot at all. If she had started getting underfoot, she would’ve had to get put in another room so she’d be safe.
LikeLike